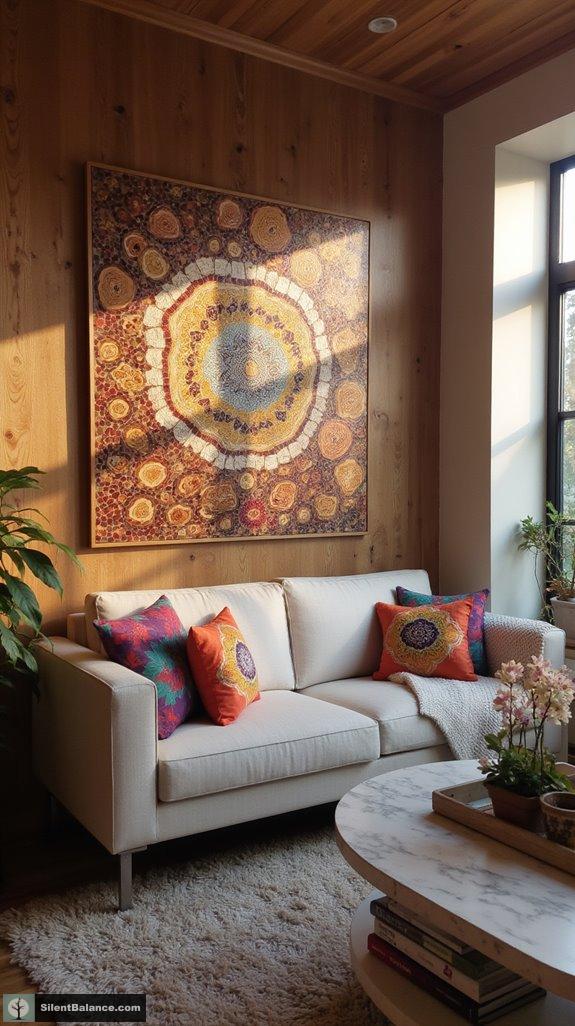
Transform Your Space with Wood Slice Mosaics
Ever wondered how a simple piece of tree could become art that stops guests in their tracks? Wood slice mosaics aren’t just décor—they’re conversation starters.
I still remember my first mosaic creation—a disaster involving too much glue and uneven cuts. That was before I discovered the secrets of working with pine’s warmth and oak’s character.
At Silent Balance blog, we explore how these natural elements transform spaces while honoring the symbolism of trees—strength, growth, and renewal.
Each slice tells its own story. Your design simply amplifies it.
When Nature Became My Canvas
Last autumn, a storm toppled the ancient maple that had shaded our family gatherings for decades. Rather than mourning its loss, I salvaged what remained. Those slices now form a stunning entryway mosaic—each ring representing a year my children grew beneath its branches.
The project taught me patience. Some pieces fought my vision. Others revealed unexpected patterns. Together, they created something more meaningful than perfect symmetry ever could.
Your mosaic isn’t just decoration—it’s preservation of time itself.
Quick Takeaways
- Choose diverse wood species and textures to add character and visual interest to your mosaic design.
- Plan your layout by starting from the center and mix organic shapes with geometric patterns for a dynamic look.
- Utilize precise cutting techniques, like using a miter saw and cutting jigs, to achieve clean edges and consistent sizes.
- Apply PVA-based adhesives in thin layers and reinforce with nails to ensure secure attachment of wood slices.
- Incorporate botanical elements to enhance emotional resonance and symbolize themes like growth, protection, and tranquility in your design.
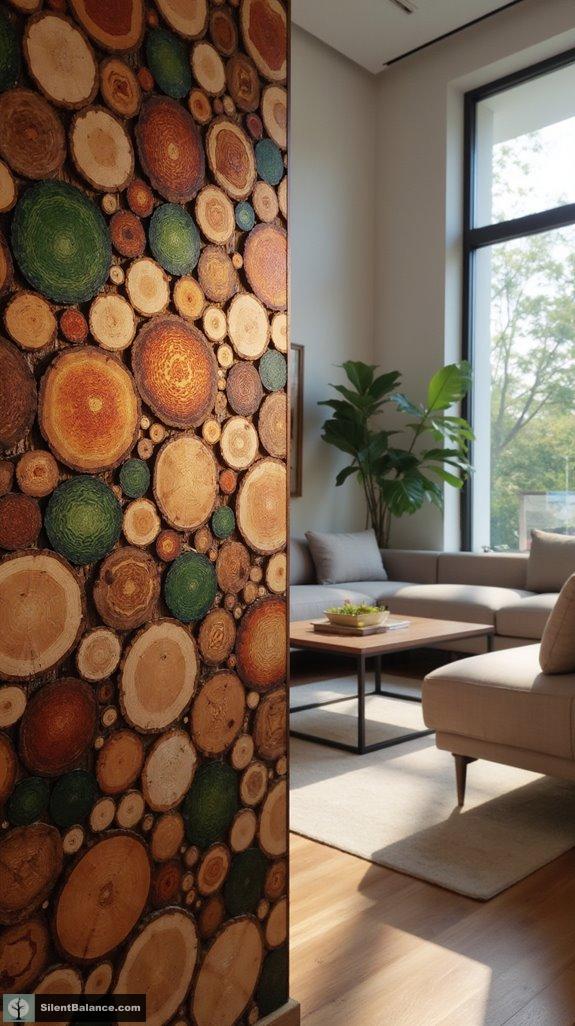
Selecting the Right Wood for Your Mosaic
When you’re diving into the world of wood slice mosaics, you’ll quickly realize that selecting the right wood isn’t just about aesthetics—it’s about the story each piece tells.
Think about your wood species and the design styles you love. Would soft pine, with its smooth surface, work for a cozy nook, or does the textured beauty of oak call your name for a more dramatic flair? Different tree types affect the appearance and texture of your mosaic, adding to its unique charm.
Consider your preferred wood species and design aesthetics—will the warmth of soft pine create comfort, or will the richness of oak add dramatic depth?
Don’t overlook exotic woods like walnut or cherry, which add rich tones and character. They can elevate your mosaics from ordinary to extraordinary!
And keep in mind, every piece of wood holds meaning—strength, growth, and renewal.
Preparing Wood Slices for Assembly
You’ve picked your wood, and now it’s time to get those slices ready for the spotlight!
To prepare your wood slices for assembly, focus on these essential steps:
- Sand the wood surface, gently eliminating ragged edges while keeping the integrity intact.
- Seal the wood with a 50:50 mixture of water and white craft glue, ensuring moisture doesn’t warp your creation.
- Score the surface lightly in a crisscross pattern for better adhesion techniques.
In addition to these tips, consider incorporating a variety of mosaic patterns and textures to enhance the visual appeal of your project.
Designing Your Mosaic Layout
Designing your mosaic layout can feel like both a puzzle and a canvas, so why not embrace the creativity?
Start at the center for that lovely layout symmetry, finding balance in your piece arrangement. Take a moment to scatter your wood slices before committing; it’s like visualizing your dream before you wake up.
Begin from the heart of your mosaic to achieve beautiful symmetry, and let your wood slices dance freely before finalizing their positions.
Think about overhanging edges for a more dynamic look, and don’t forget that mixing organic shapes with geometric patterns adds charm.
Why settle for basic when warmth from varied stains can turn your piece into a soulful declaration of growth and strength? Additionally, consider incorporating minimalist design principles into your artwork to enhance its visual impact.
Embrace nature’s intricacies—each slice tells a story, reminding us of life’s renewal.
Cutting Techniques for Precision
- Use a miter saw for angled, repeatable cuts.
- Employ a table saw for clean, straight edges.
- Stack pieces face-to-face for consistent cuts.
Feel the thrill of using a cutting jig to achieve geometric perfection!
Recall, starting with slightly oversized pieces leaves room for those final adjustments—no one likes awkward gaps.
As you slice through your wood, invite the essence of nature into your decor.
Symbols like growth and strength resonate deeply, making your creation not just a mosaic, but a meaningful piece of art.
Why not let your decor tell your story?
Techniques for Proper Adhesion
When it comes to crafting your wood slice mosaic, proper adhesion is key to ensuring your artistic masterpiece stands the test of time.
Start by preparing your surface—clean it thoroughly, removing dust, dirt, and oils. A light sanding can give the wood some texture for better grip.
Then, consider using a sealant like diluted PVA glue to condition the surface.
For adhesive types, PVA-based adhesives, like Weld Bond, are fantastic. Spread them in thin layers to prevent your pieces from slipping.
And don’t forget to preheat surfaces! This simple trick boosts bonding strength and creates durable connections. Additionally, incorporating sustainable materials into your design can enhance both aesthetics and eco-friendliness.
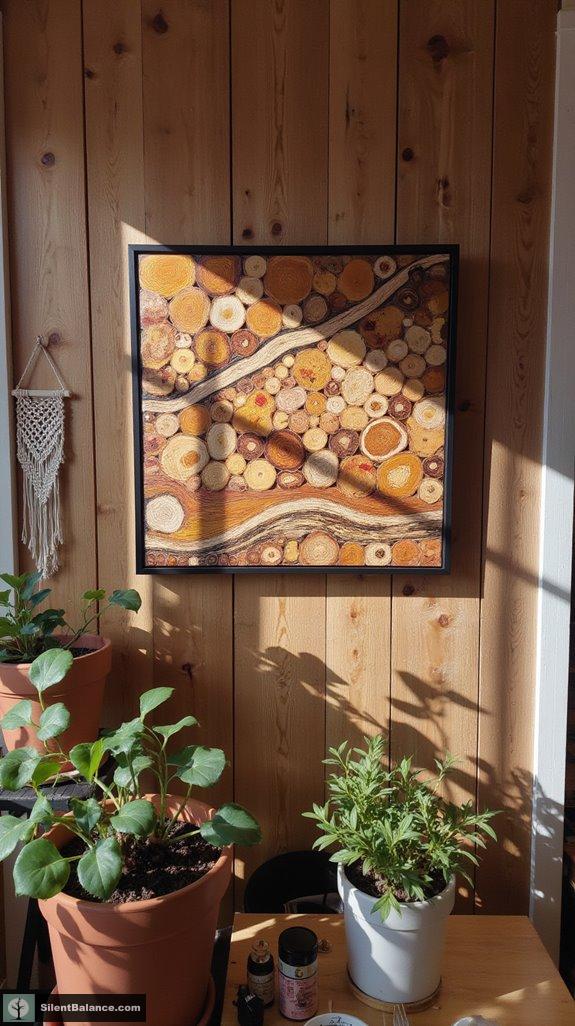
Strategies for Color Coordination
How do you create a stunning wood slice mosaic that not only catches the eye but also tells a story?
Start by embracing color harmony and visual balance. This involves selecting the right hues to evoke the feelings you want your space to embody.
- Use analogous colors for a gentle gradient.
- Mix warm hues for energy with cool tones for calm.
- Incorporate neutral shades to tie everything together.
Think of your wood slices as a narrative that symbolizes growth, strength, and renewal.
Group colors thoughtfully, alternating light and dark to keep your audience engaged. Recall, your mosaic should flow like a gentle river, guiding the viewer’s gaze and heart through the masterpiece you’ve crafted.
Happy decorating!
Tips for Achieving Smooth Transitions
To create those seamless shifts between your wood slice mosaic pieces and other materials, you’ll want to think ahead.
Consider using clever adjustment techniques that guarantee smooth surface alignment.
Start by cleaning and leveling your surfaces—nobody likes bumpy rides, right?
Dry-fit everything first to see how it all fits together. Trust me; it’s a lifesaver.
Curved or diagonal adjustment lines can soften those harsh edges, adding a dash of rhythm to your design.
And if there’s a height difference? Consider snazzy transition strips or moldings for a clean finish.
Protecting Your Mosaic With Finishes
Got a stunning wood slice mosaic that’s just waiting to shine? Let’s protect that masterpiece with the right finishes, shall we?
Here are some key finishing techniques you’ll love:
- Water-based polycrylic for quick drying and a satin sheen.
- Epoxy clear coats for superior scratch resistance and bonding.
- Transparent stains to highlight gorgeous wood grain details.
Remember, protective coatings do more than just look fabulous; they strengthen your mosaic against life’s little spills.
But hey, don’t overdo it—multiple coats aren’t always necessary with proper prep.
Creating Outdoor-Friendly Mosaics
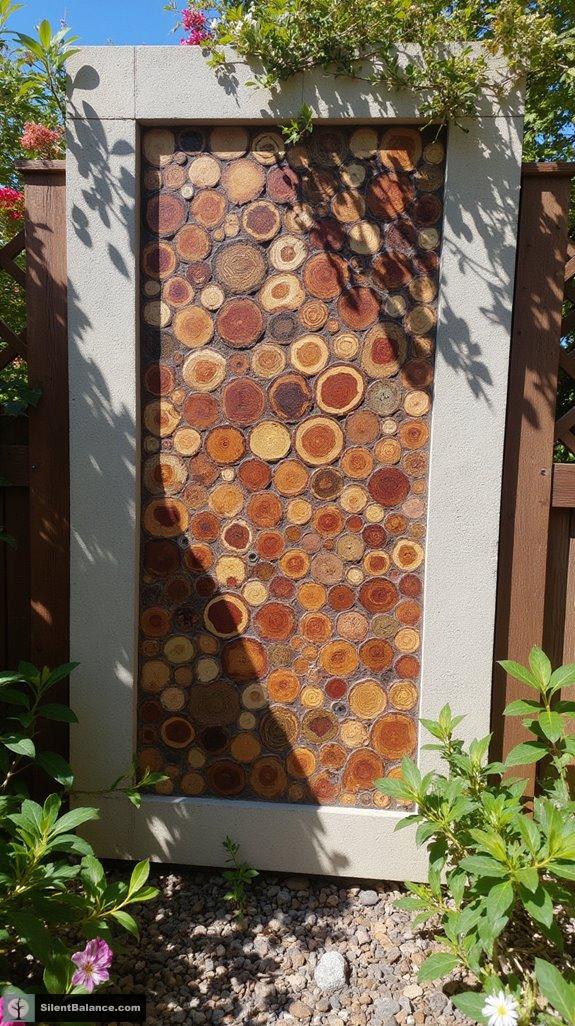
You’ve got a stunning wood slice mosaic that deserves to be showcased outdoors, but let’s be real—it’s no picnic having your beautiful creation withstand the elements!
To boost outdoor durability, choose rot-resistant woods, like cedar, and avoid those pesky high-moisture types. You’ll want to cut your wood slices with care, creating smooth edges that bond better.
Pair these slices with concrete backer boards, ensuring stability against humidity’s whims. For bonding, stick with water-resistant adhesives that can weather temperature changes.
When grouting, keep in mind to use sanded grout mixed with acrylic admix—this prevents cracks and enhances flexibility!
Using these thoughtful mosaic materials not only enriches your design but also imbues your space with nature’s essence—growth, strength, and renewal.
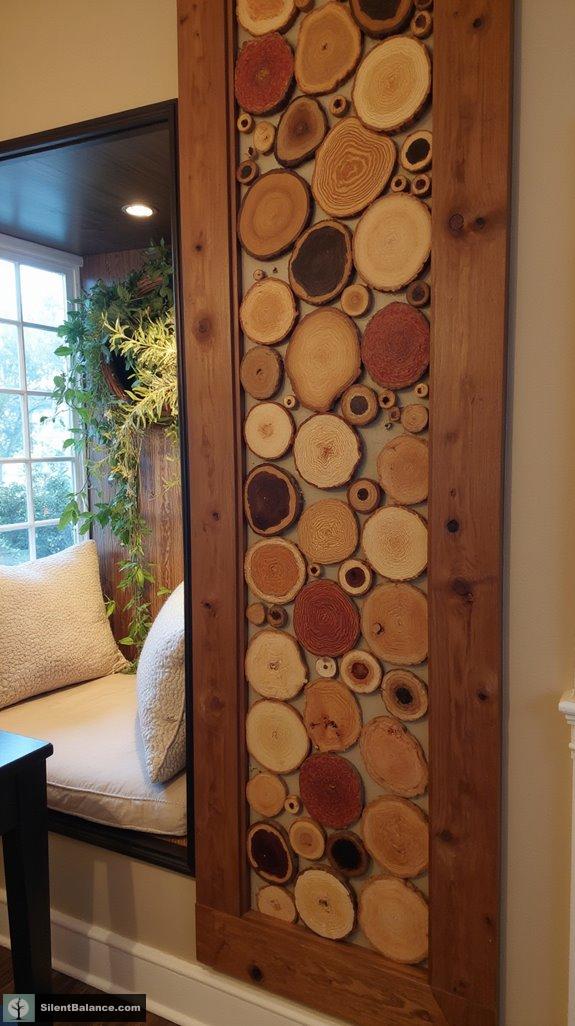
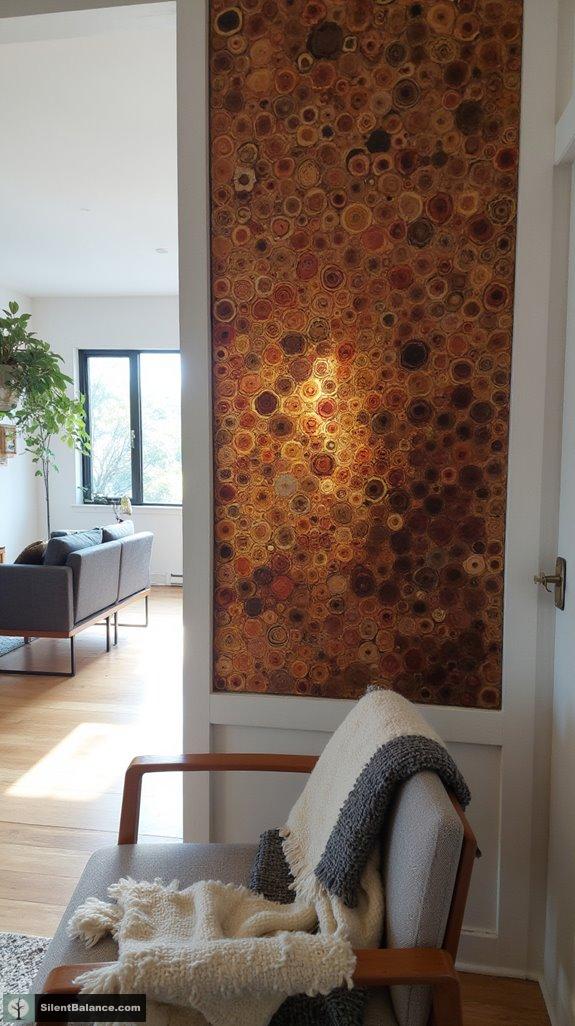
Displaying Your Mosaic Artwork Effectively
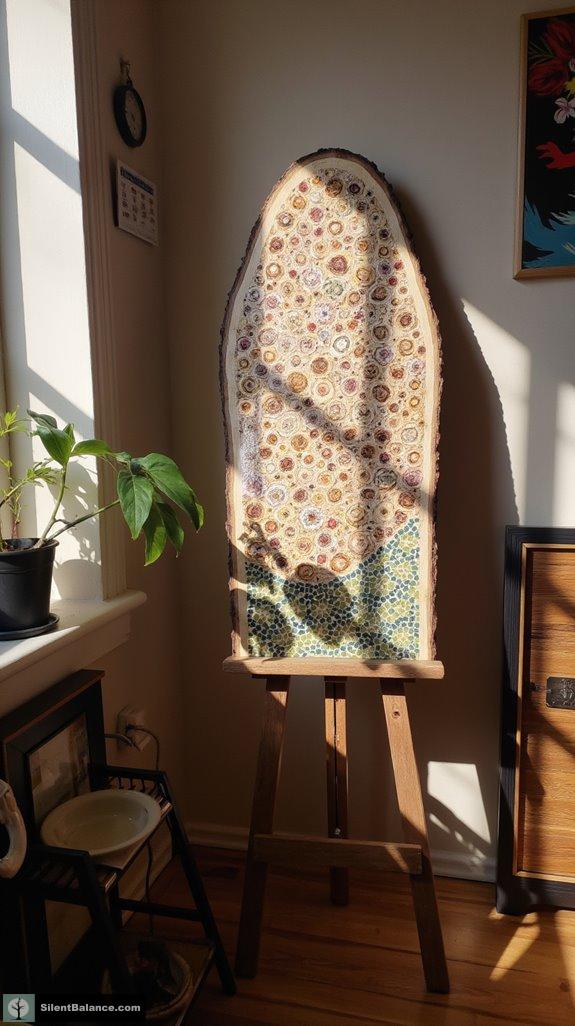
When it comes to displaying your wood slice mosaic artwork, the way you showcase it can transform your space into a reflection of your personality and values.
Choose your display settings wisely, as lighting can elevate the natural beauty of the wood.
Here are some tips to make your mosaic shine:
- Use easels for a stunning display, letting viewers see every detail.
- Incorporate lightweight backing for easy setup, reducing risk of damaging surfaces.
- Think about your surrounding colors—complement or contrast them to enhance visual impact.
Why not let your artwork tell a story?
Every piece of wood symbolizes growth and renewal, adding depth to your home. Embrace these reasons when curating your space!
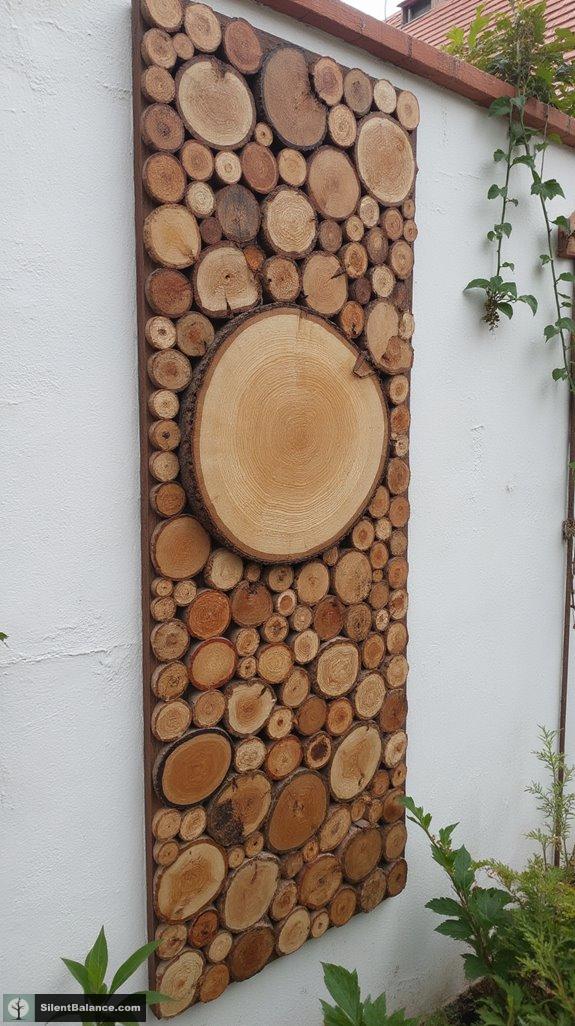
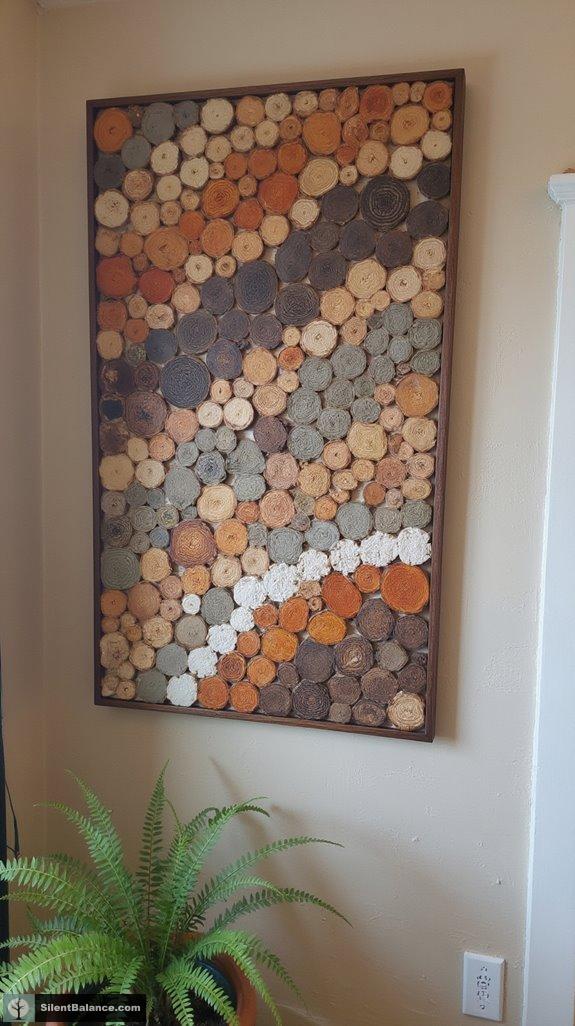
How to Make Natural Wood Slice Mosaic Panels
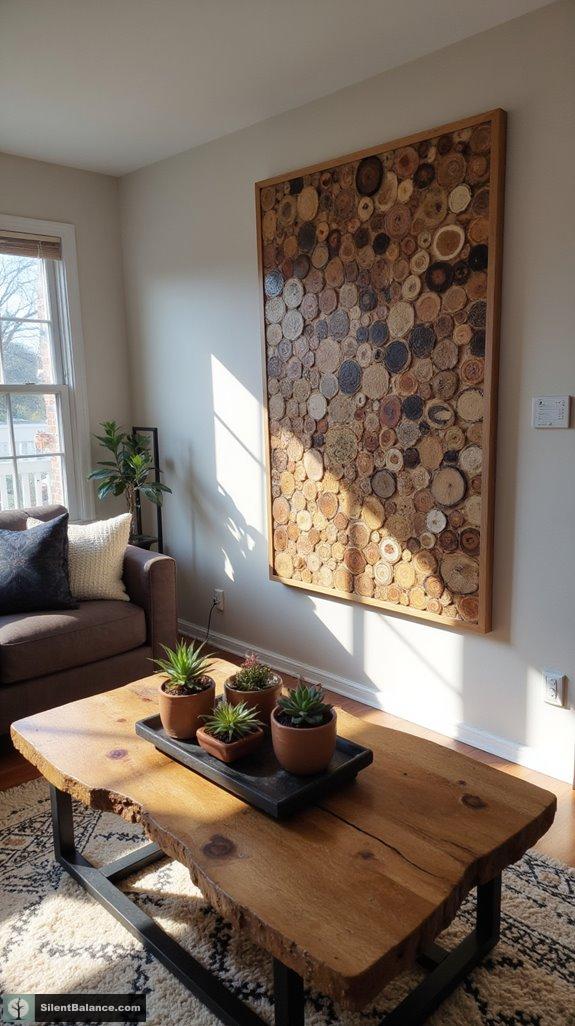
Crafting your own natural wood slice mosaic panels lets you transform ordinary surfaces into enchanting works of art that reflect your unique style. By selecting the right mosaic tools and treating the wood surface, you can create stunning mosaics to display in your home.
Start with a stable, sealed wood backing, then score the surface to enhance adhesion. Carefully cut wood slices to fit your desired pattern, securing them with wood glue and nails.
Prepare a stable, sealed wood backing and score the surface to enhance adhesion. Carefully cut wood slices and secure them with wood glue and nails.
Design your mosaic layout in advance, playing with wood grain, color, and texture to achieve a mesmerizing natural look. Complete your project by sanding and sealing the mosaic for long-lasting protection.
Embrace the beauty and symbolism of natural elements in your home decor.
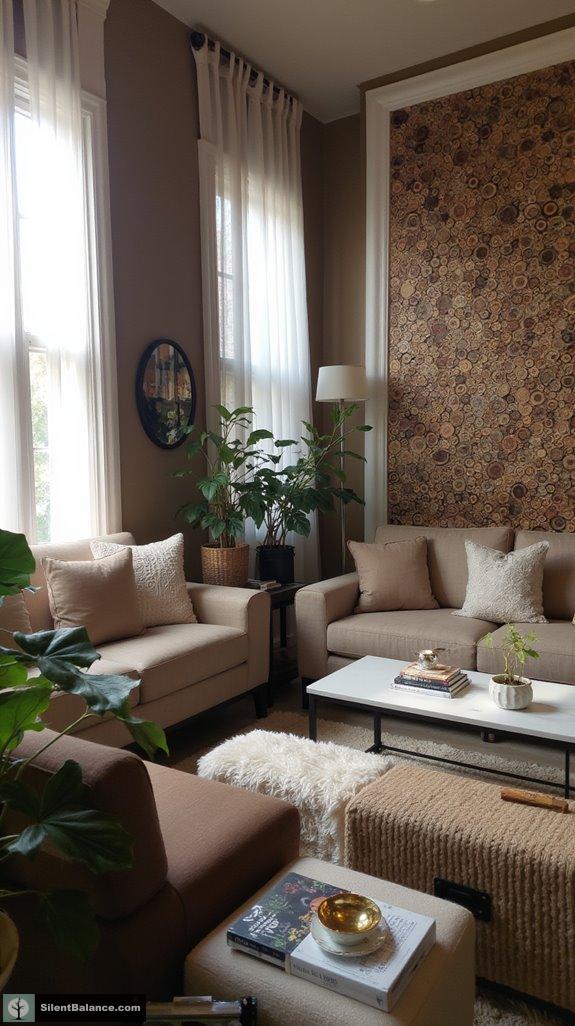
Botanical Meanings in Interior Design
Incorporating botanical elements into your home decor can be more than just a style choice; it’s a way to connect with nature and invite deeper meanings into your space.
Why not let the rich tapestry of botanical symbolism enhance the emotional resonance of your home?
- Trees symbolize growth and protection, making them perfect for family spaces.
- Flowers like roses carry tales of passion and purity, adding romance to your decor.
- Leafy prints can create a sanctuary-like atmosphere that calms your spirit.
Using these symbolic elements can craft layers of personal significance in your decor.
FAQ
What Tools Are Necessary for Making a Wood Slice Mosaic?
You’ll need a miter saw, sandpaper, and adhesive for your wood slice mosaic. Start with a wood selection guide and create a design layout to envision your masterpiece before diving into the crafting process.
How Do I Choose a Theme for My Mosaic Design?
“Art is in the eye of the beholder.” Seek theme inspiration that resonates with you. Aim for color harmony, blending your chosen shades seamlessly, creating an intimate, welcoming space that reflects your unique story and style.
Can I Use Leftover Pieces for Other Projects?
Absolutely, you can use those leftover pieces for other projects! Get creative with unique uses, like making charming coasters or rustic home decor. Your leftover projects can transform into personal treasures that bring warmth to your space.
What Types of Wood Are Best for Indoor Mosaics?
For indoor mosaics, choose hardwood options like walnut for durability or softwood benefits like pine for ease of working. Both enhance aesthetics; just guarantee proper sealing to maintain their beauty amidst humidity changes.
How Do I Clean My Mosaic for Maintenance?
To clean your mosaic, gently dust with a soft cloth, then use damp cloths or warm soapy water. These mosaic cleaning methods are simple; follow maintenance tips to keep your beautiful design looking fresh for years.
References
- https://www.youtube.com/watch?v=7PsWubvCJH8
- https://www.girlsbuildclub.com/how-to-make-a-geometric-wood-mosaic/
- https://studiosarai.com.au/a-guide-to-creating-stunning-wood-mosaic-artwork/
- https://www.instructables.com/Nolan-Wood-Mosaic/
- https://www.youtube.com/watch?v=maHiZCuGnRc
- https://www.youtube.com/watch?v=GbkeBgR7Vhw
- https://www.youtube.com/watch?v=vskR7CCDsds
- https://www.lemon8-app.com/@woodmosaicstyle/7430745780698759686?region=us
- https://blueseawood.com/en/the-ultimate-guide-to-choosing-preparing-and-decorating-with-large-wood-slices-for-crafts/
- https://studiosarai.com.au/comparing-wood-mosaics-to-other-art-forms/
- https://www.etsy.com/market/wood_slice_mosaics
- https://plaidonline.com/brands/arteza/surfaces-and-canvas/wood-panels-plaques
- https://helenmilesmosaics.org/mosaic-tutorials/preparing-the-board/
- https://www.youtube.com/watch?v=kOIcUI4UmM8
- https://www.youtube.com/watch?v=-209xL8AWTc
- https://ask.metafilter.com/354078/DIYFilter-whats-the-best-way-to-make-a-ceramic-mosaic-on-wood
- https://www.girlsbuildclub.com/wood-mosaic-wall-art/
- https://www.aesdes.org/2025/02/18/rustic-modern-wood-mosaic
- https://www.instructables.com/Designing-a-mosaic/
- https://www.youtube.com/watch?v=PPZU8Ld9-eA

- Bonsai Placement Benefits for Room Harmony - November 8, 2025
- Why Use Air Layering to Propagate Bonsai Trees? - November 8, 2025
- 15 Stunning Acorn Wood Wall Art Ideas - November 8, 2025